Cossie Capri.....THE BUILD SO FAR.Update 21/06/08
Posted: Sat Mar 24, 2007 8:49 pm
Ok,this is my Build from the old site......
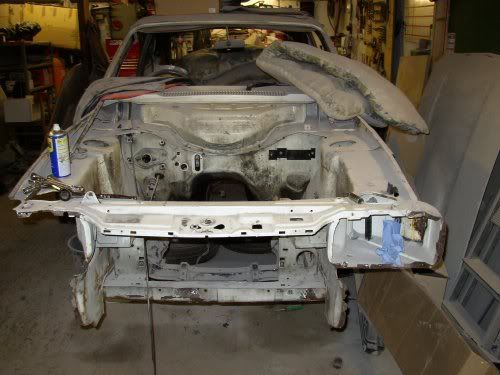
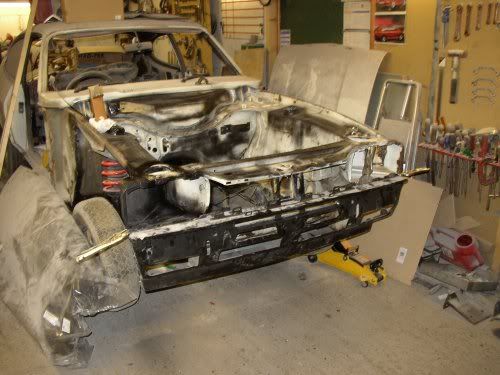
Now with added Suspension,Headlamp Bowl and Front Valance.....
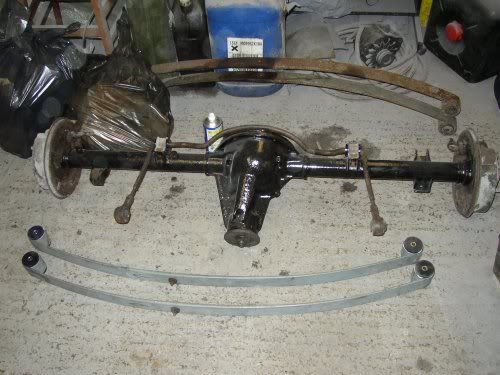

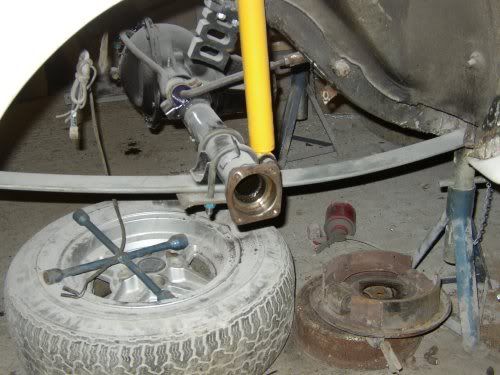
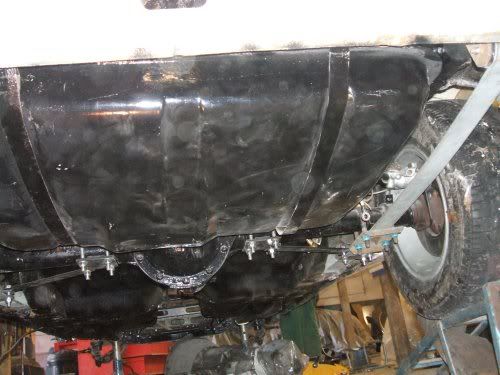
Halfshafts Removed for the Fitting of Rear Disc Conversion....
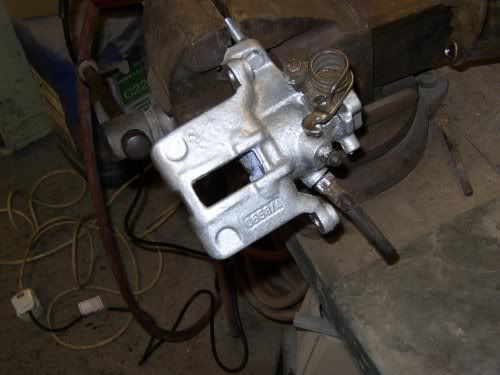
Rear Calipers Painted Ready...
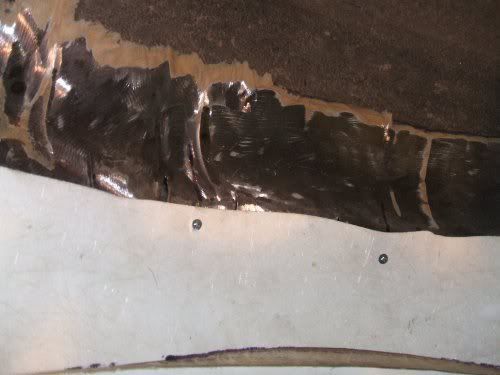
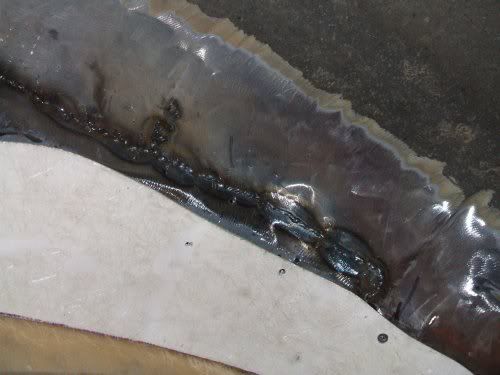
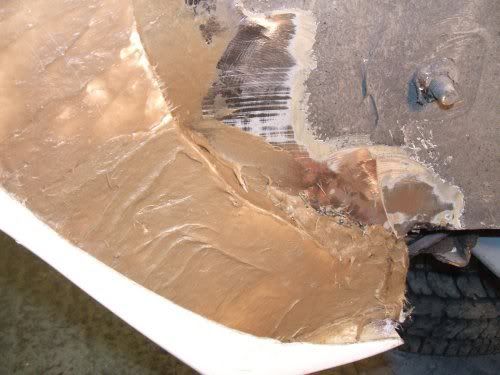
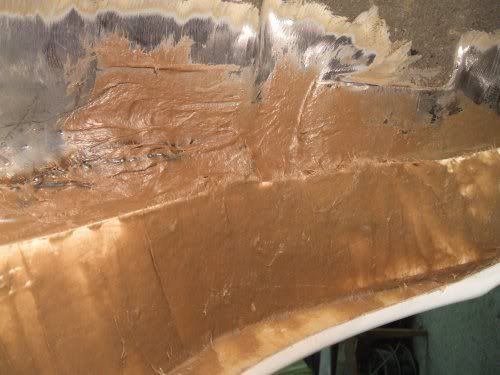
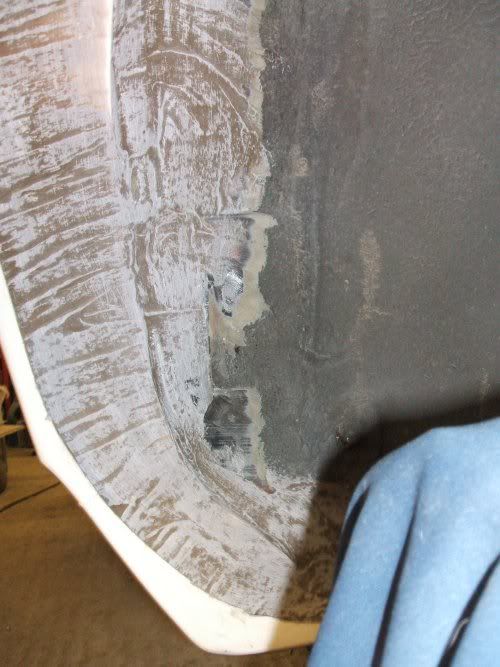
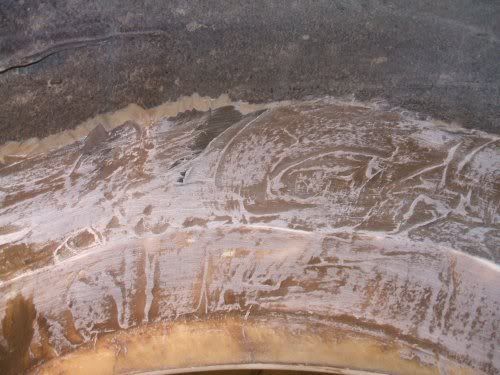
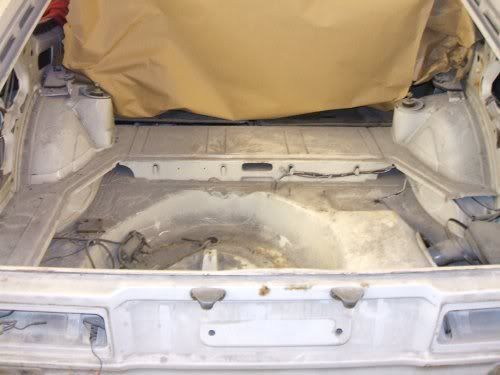
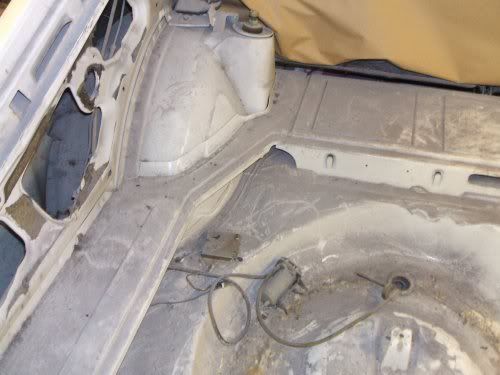
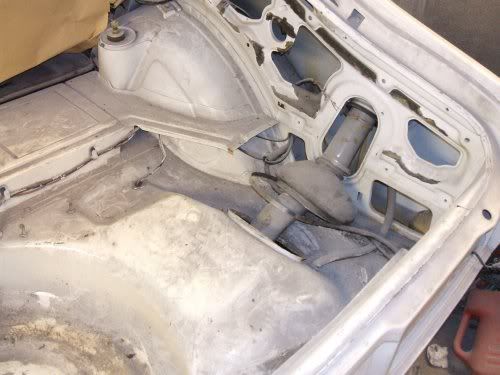
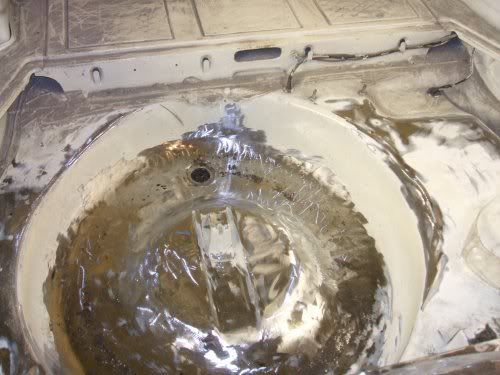
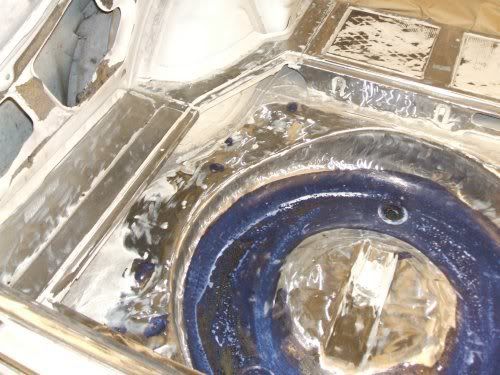
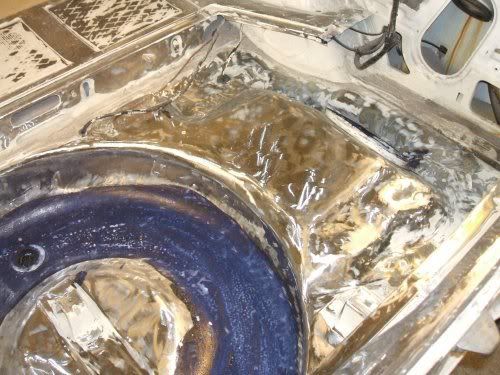
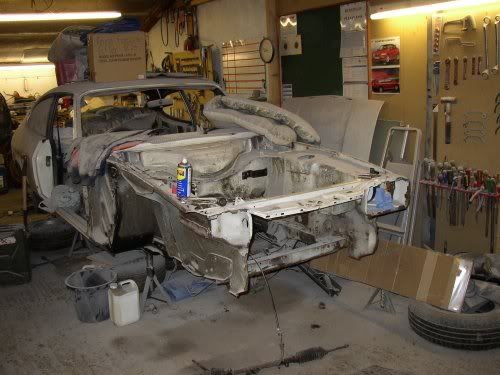
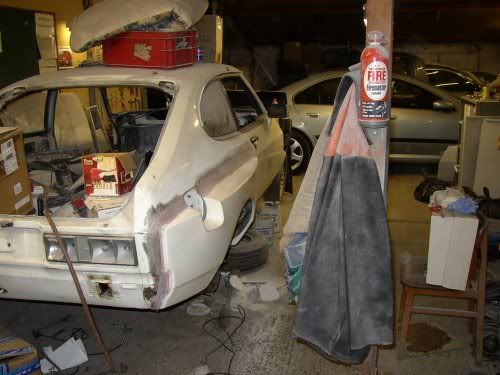
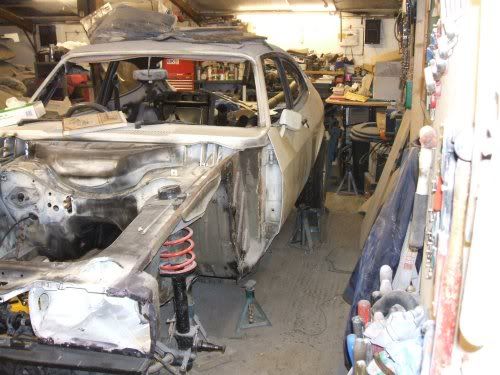
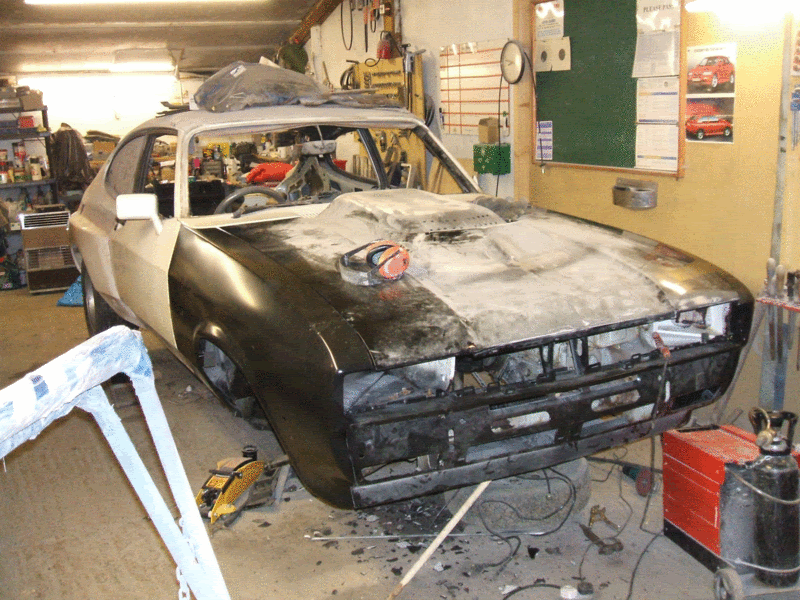
Bodywork Prepping
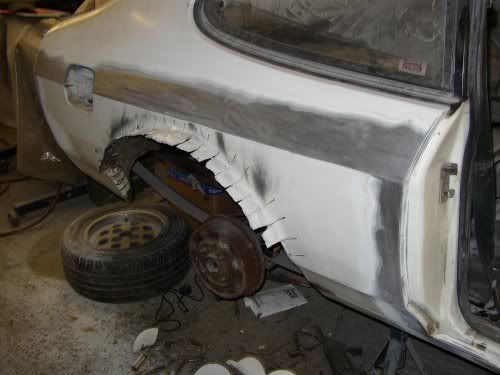
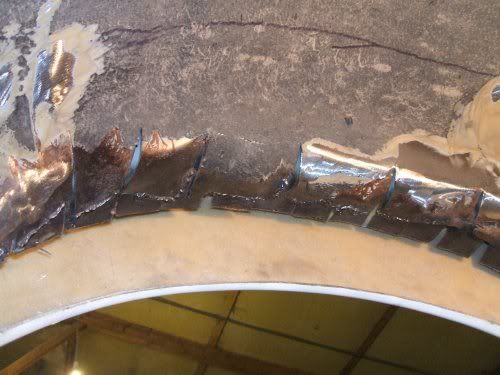
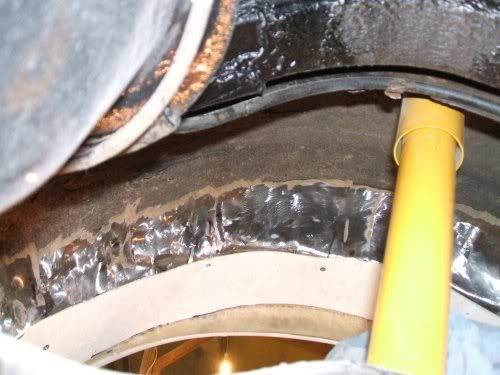
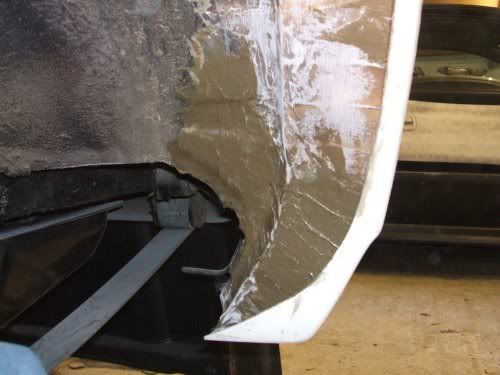
For This...MK II X-Pack Arch
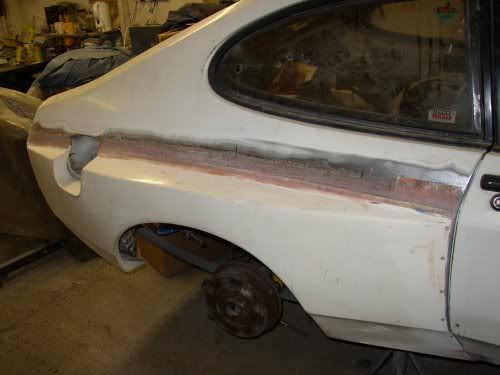
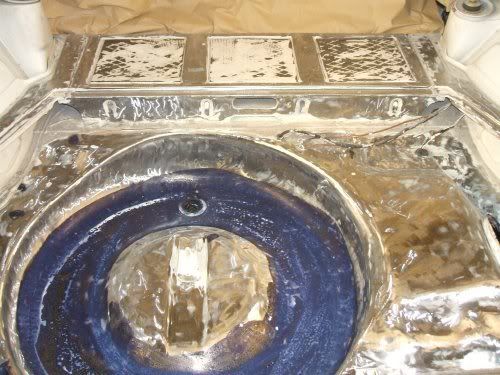
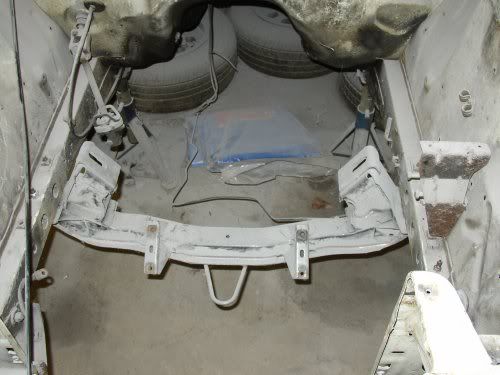
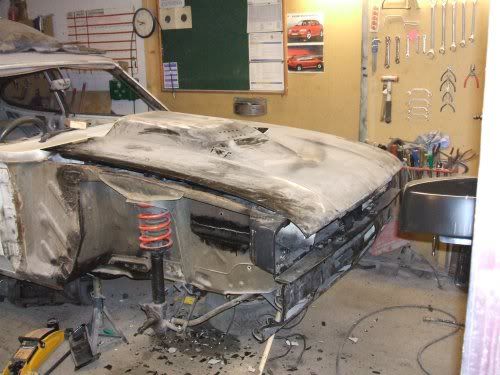
Hmmm....Looks a bit Empty
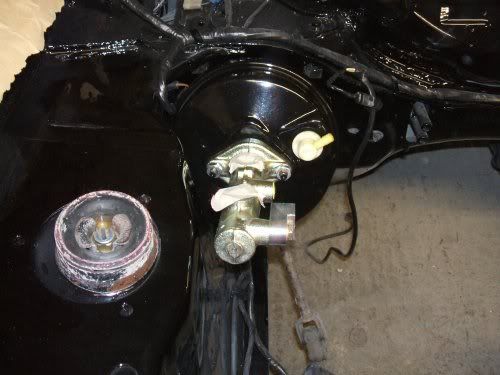
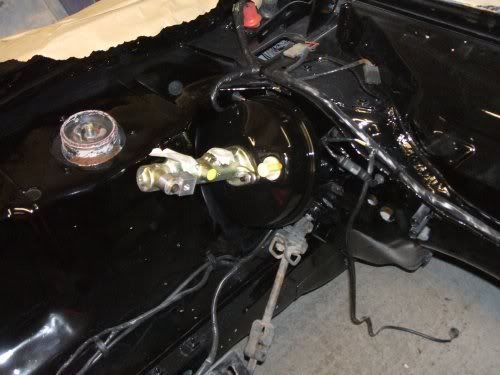
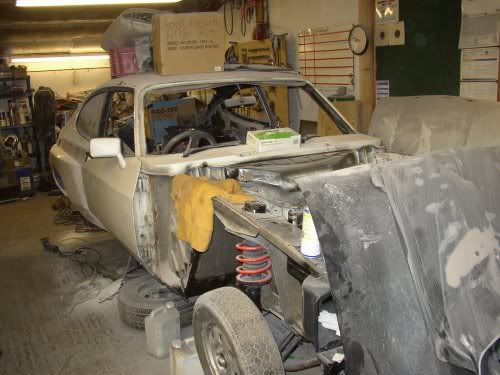
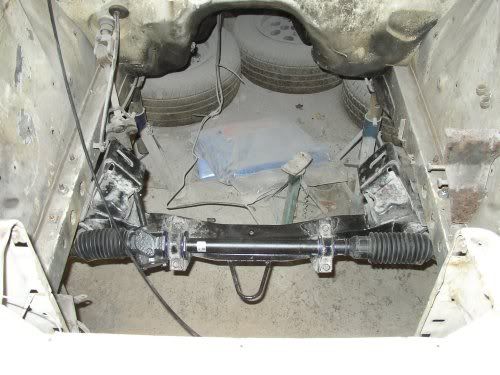
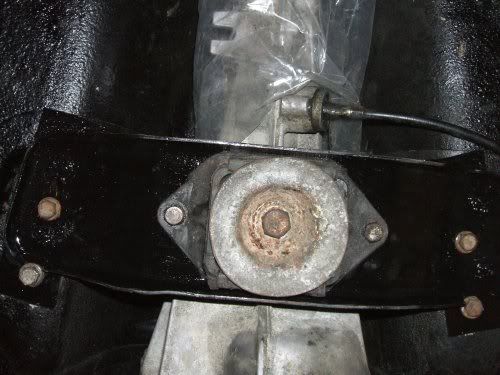
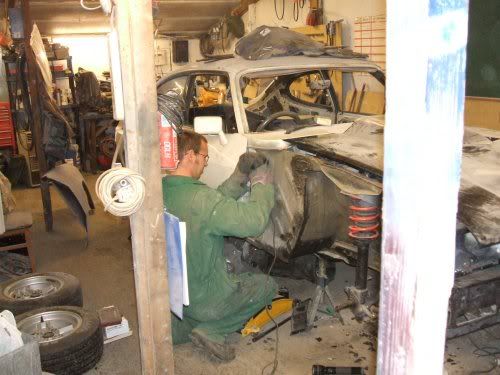
Add Some Steering...
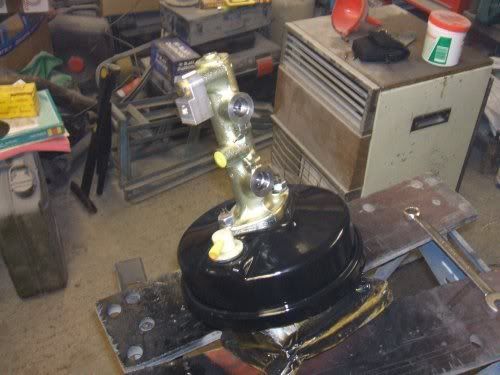
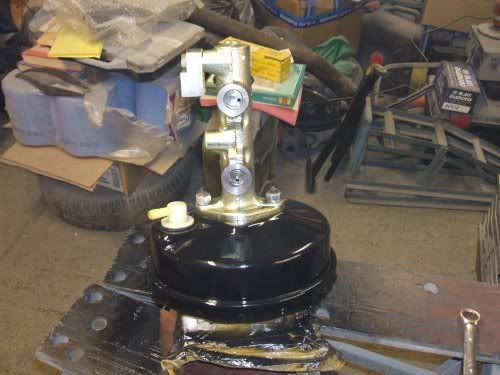
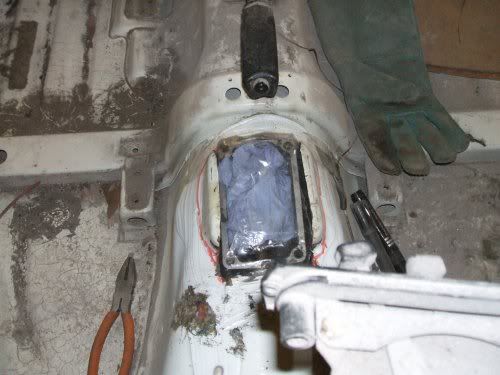
The Best Bit to Come...
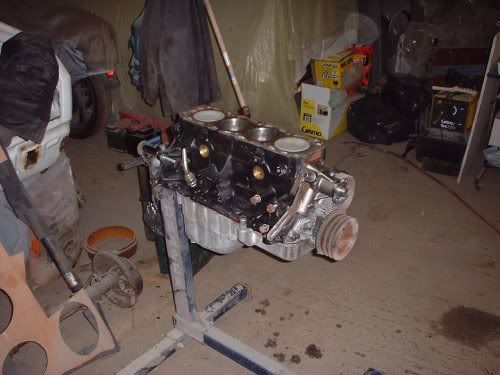

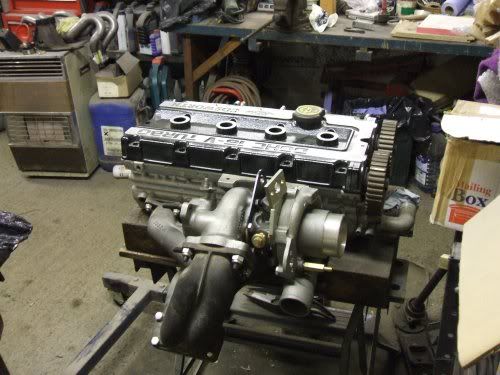
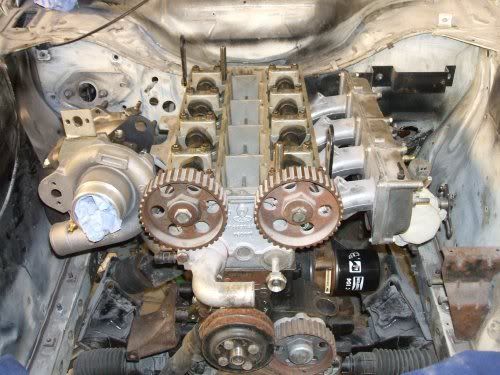
And now With Bottom End in, Nice n Snug ........Now the Fun Begins !!!
Engine Put in Provisonally so I can sort out lengths of hoses and stuff that is needed.
Hope you guys like the pics so far
Ok, here's a few more pics.....
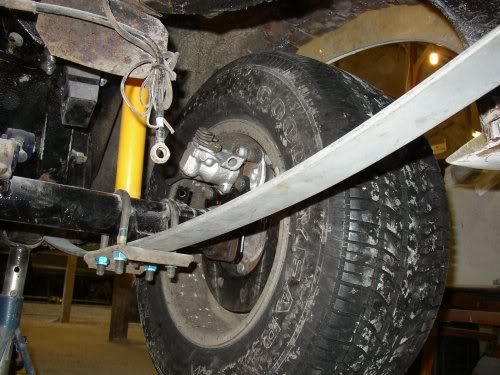
Modded Halfshafts Fitted and Caliper mounting Brackets
Rear Sierra Calipers Fitted and Peugeot 405 Discs
Intercooler fitted...
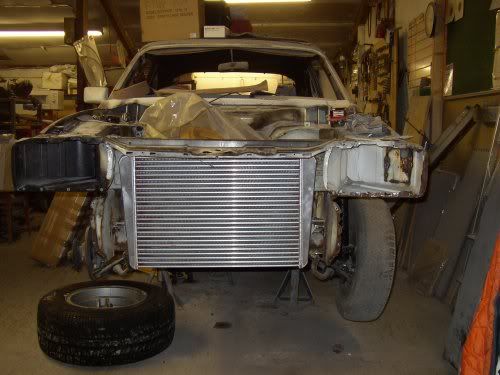
Front Valance refitted.....Intercooler just fits nice n snug behind it

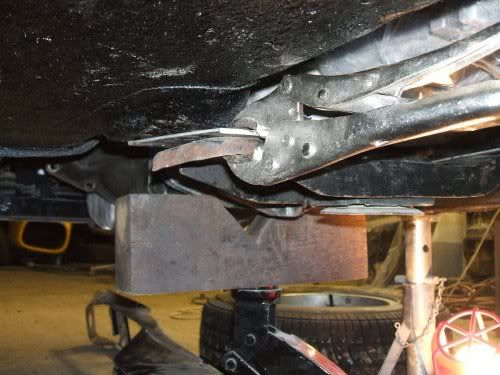
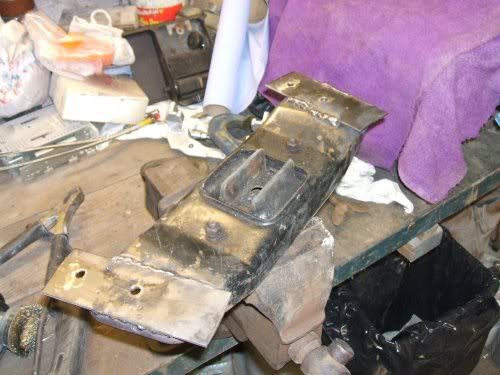
Ok, slight update with more pics ! Done some work fitting a modified cross member for the gearbox....
Had to make up plates to weld on the original cross member to put new holes in it for the bolts to line up....
Slap a bit of paint on....
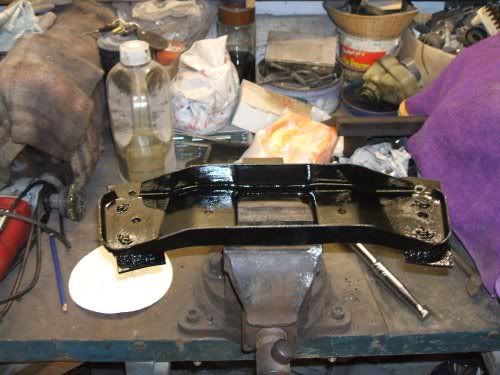
Ta Da ! finished article, now the gearbox won't fall off, time to see about a slightly shorter and uprated Propshaft to take the 300 Bhp
Also had to make the tunnel slightly bigger for the gearlever....
Slapped a bit of paint on the Front Calipers too

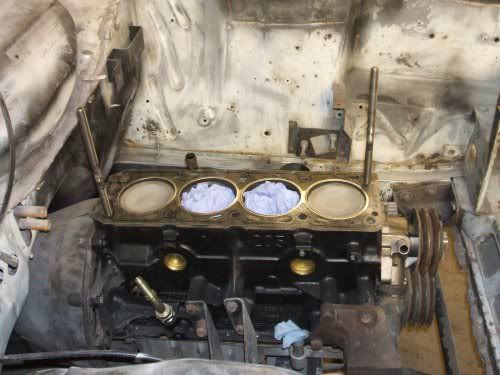
Head gasket Fitted with home made locating tool.....
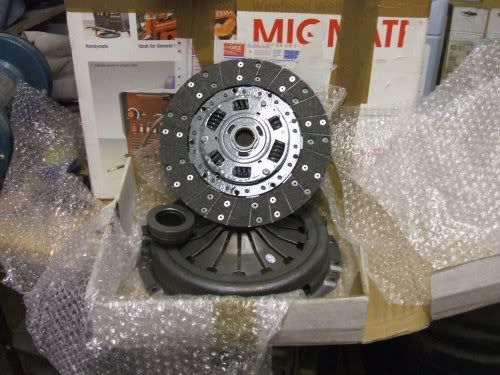
Oh, and this lil beauty going on tomorow

Hope you guys like the update
Ok here's a nice little update, with a few pics.... Painted fuel tank
now fitted....
Passenger door also now fitted....
Bonnet fitted for lining up of the wings ( not the bonnet i'm using on
the final car)....
And here's the main man himself who's doing most of the bodywork on the
car for me ( apart from fitting the X-Pack arches, thats my job cos he
hates fibreglass panels ), the dog's danglies panel beater
... cheers Dan .....
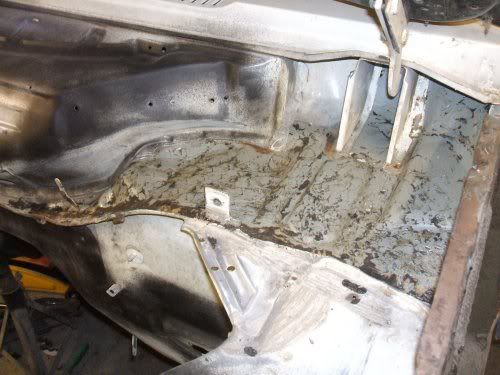
He's removed the sound deadening on the bulk head in the engine bay cos
A: It's horrid to paint and B: it'll look much nicer....
Sadly, the quality of pattern wings is somewhat....naff sometimes to
say the least sorry Dan
  and at £60 odd quid a pop for pattern
stuff , you'd think they'd be a better fit and yes I could get
my finger between the wing and the door edge, and nope you can't
get Genuine Ford MK III wings new for love nor money these days....

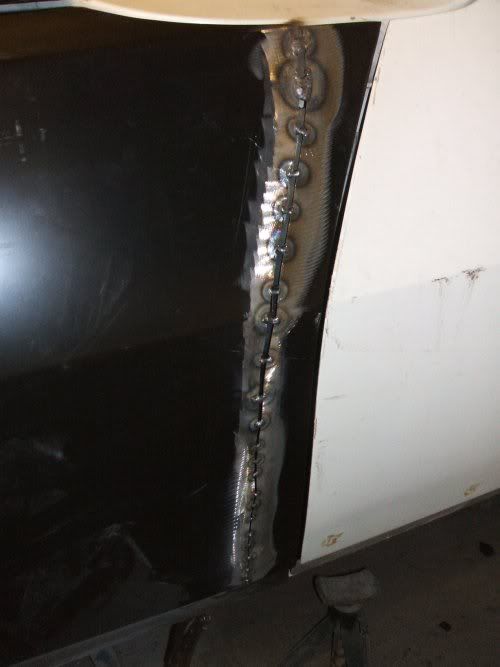
The wing would fit great in one way,then too short in other areas, so
with a bit of jiggery pokery and cutting, Dan's sorted it ....
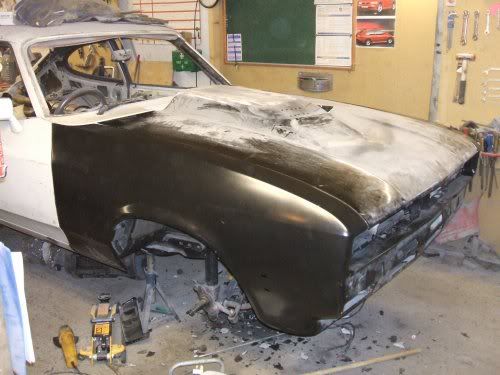
And now the pics that i've been waiting to put on here for a while....
Ta Da !!
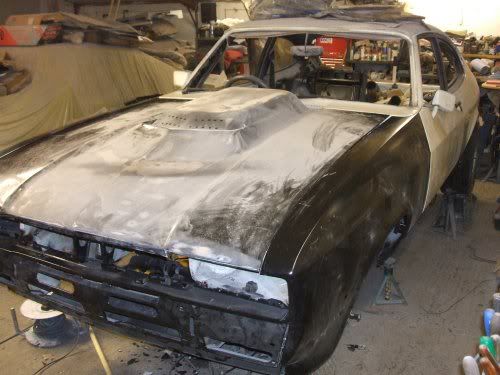
Now for my fav Pic ....
Now don't that look much better with wings on Hope you guys like
the update and many many thanks for all your words of encouragement,
cheers guys
Ello peeps,righto, time for an update..... Nice load of pics for you guys to oggle over....
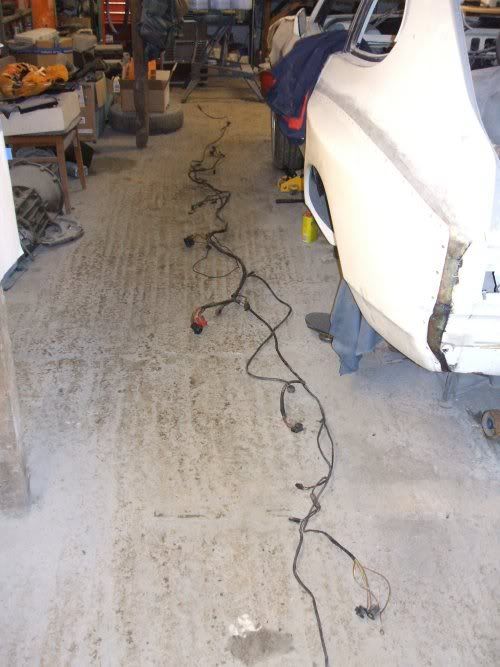
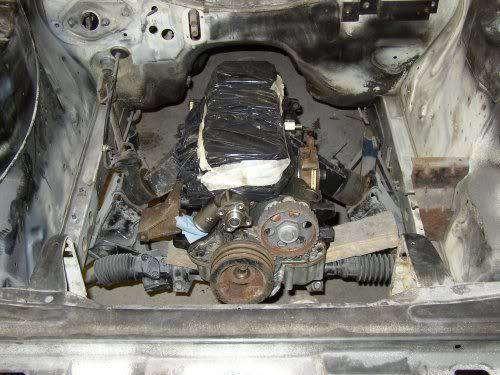
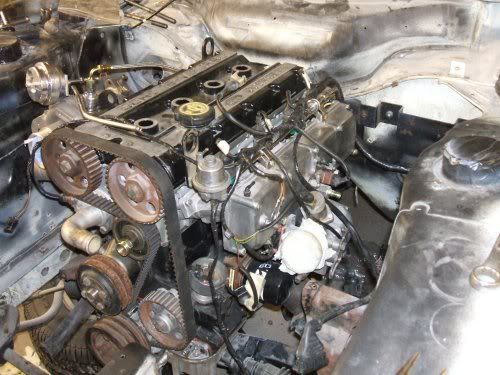
Here's a few of the engine in the engine bay before it was taken back out. It was initially fitted so I could get all the hoses,parts and holes drilled before the engine bay was sprayed.....
Before the cam belt was fitted ( and what a bit of a nightmare that was ! )
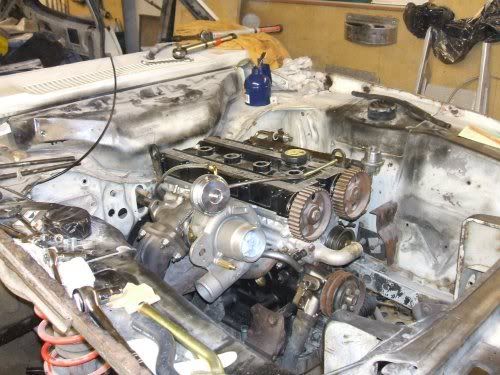
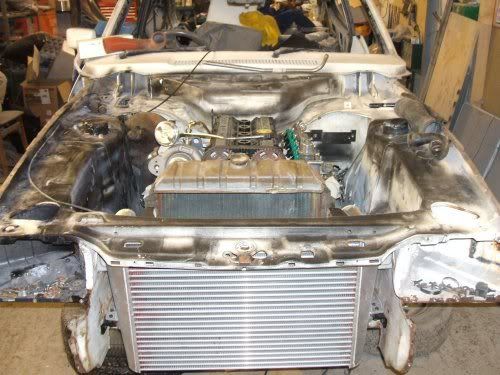
Now with Rad and Intercooler fitted....
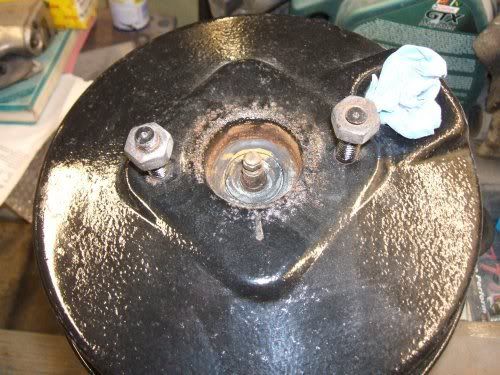
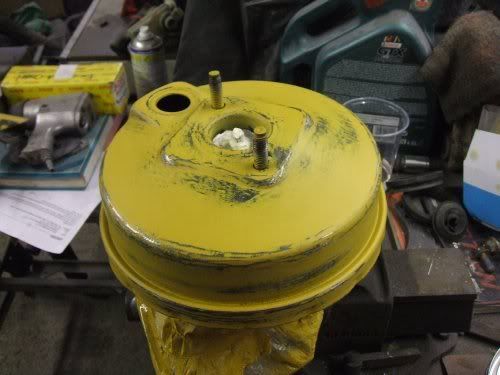
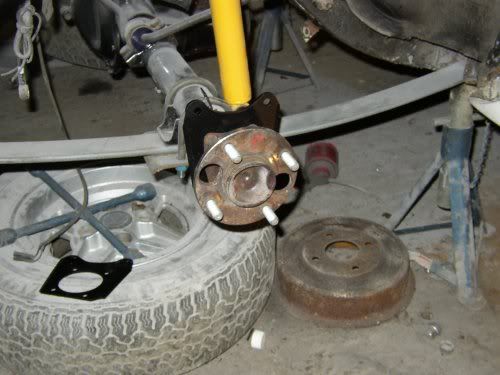
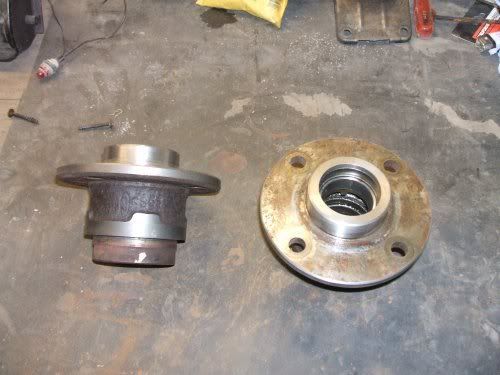
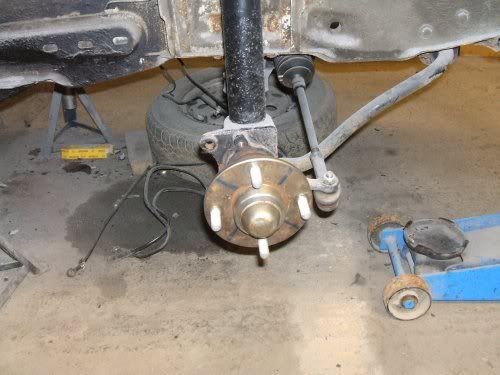
Here's the modified front hubs....
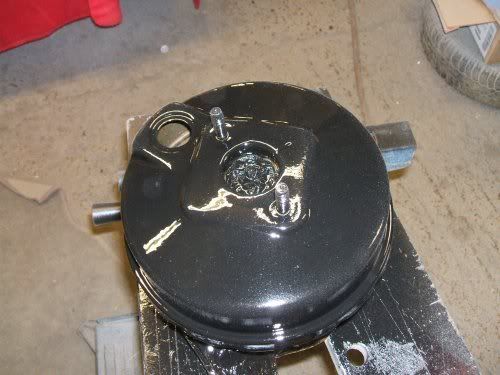
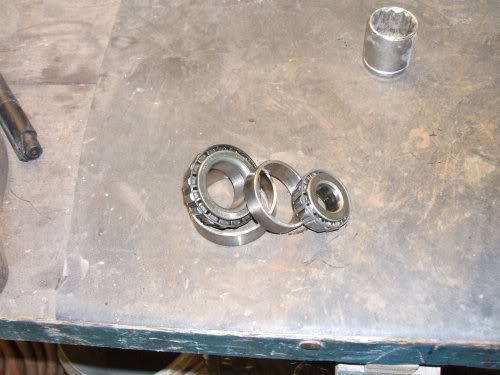
Nice new set of wheel bearings for them....
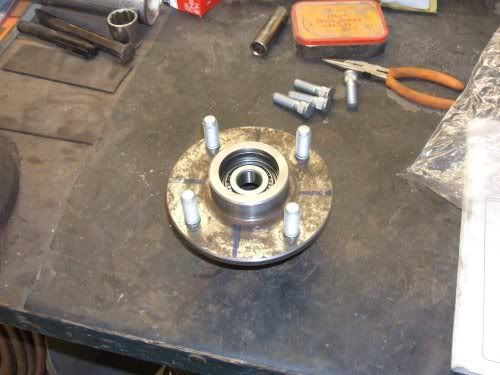
Ta Da ! Bearings fitted....
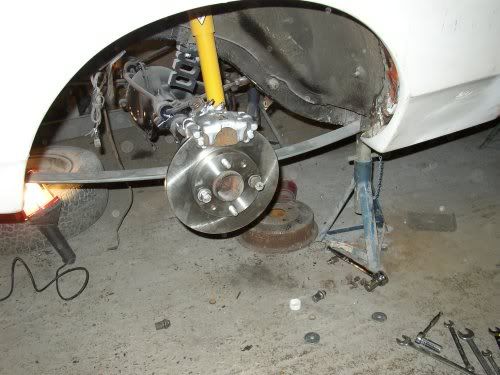
And now the modified Hubs on the car, sadly no caliper fitting yet, as I was supplied the wrong fitting kit....
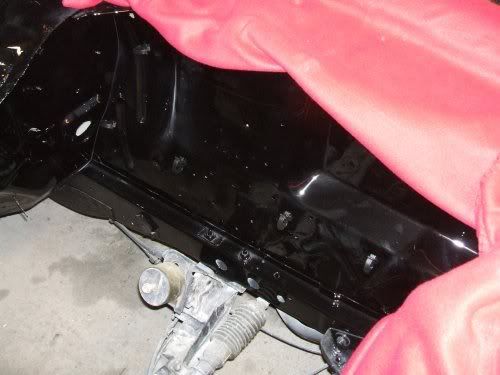
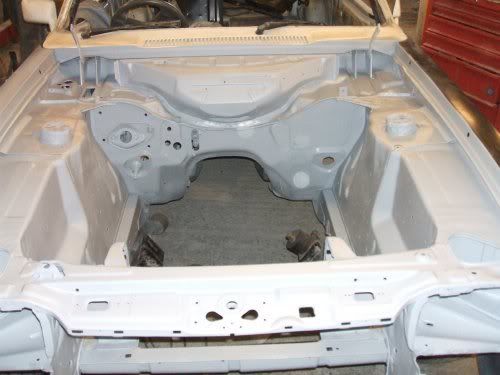
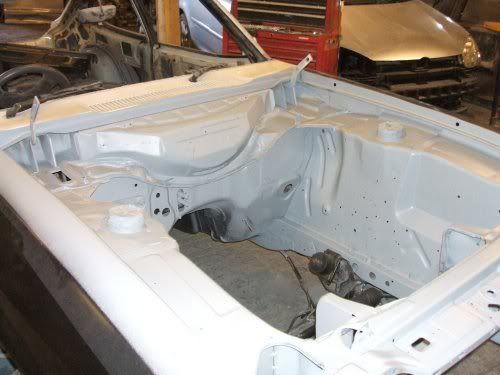
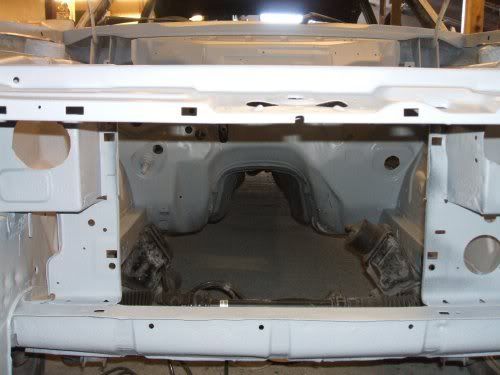
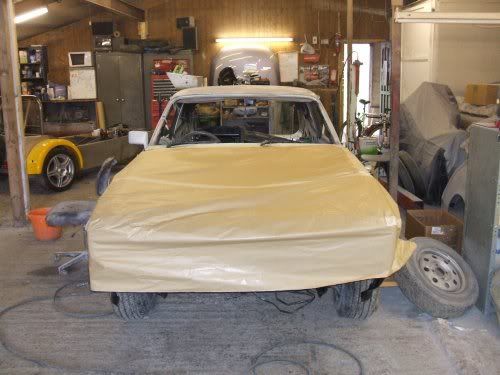
Engine bay, Primed and ready for topcoat
And now, are you ready ....
Drum roll please....
.
.
.
.
.
.
.
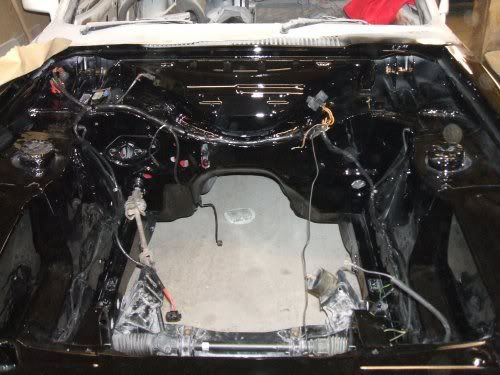
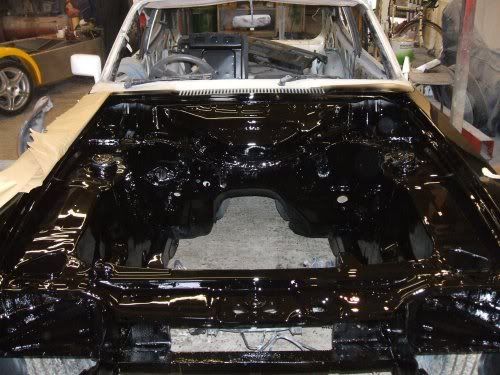
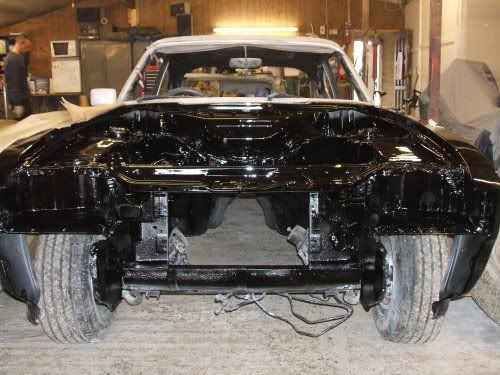
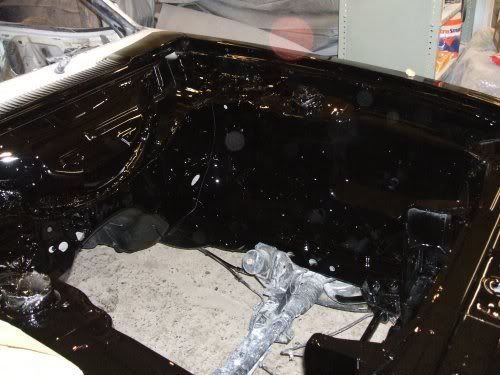
Ta Da !!!!!..... The Pics don't do Dan's spray work justice....
Now's the daunting task of slowly and VERY carefully putting the bits in the engine bay as the paint,this time of the year is still soft and will take a while to go hard.
Hope you guys like the update, sorry it's been a while
Now with added Suspension,Headlamp Bowl and Front Valance.....
Halfshafts Removed for the Fitting of Rear Disc Conversion....
Rear Calipers Painted Ready...
Bodywork Prepping
For This...MK II X-Pack Arch
Hmmm....Looks a bit Empty
Add Some Steering...
The Best Bit to Come...
And now With Bottom End in, Nice n Snug
Engine Put in Provisonally so I can sort out lengths of hoses and stuff that is needed.
Hope you guys like the pics so far
Ok, here's a few more pics.....
Modded Halfshafts Fitted and Caliper mounting Brackets
Rear Sierra Calipers Fitted and Peugeot 405 Discs
Intercooler fitted...
Front Valance refitted.....Intercooler just fits nice n snug behind it
Ok, slight update with more pics ! Done some work fitting a modified cross member for the gearbox....
Had to make up plates to weld on the original cross member to put new holes in it for the bolts to line up....
Slap a bit of paint on....
Ta Da ! finished article, now the gearbox won't fall off, time to see about a slightly shorter and uprated Propshaft to take the 300 Bhp
Also had to make the tunnel slightly bigger for the gearlever....
Slapped a bit of paint on the Front Calipers too
Head gasket Fitted with home made locating tool.....
Oh, and this lil beauty going on tomorow
Hope you guys like the update
Ok here's a nice little update, with a few pics.... Painted fuel tank
now fitted....
Passenger door also now fitted....
Bonnet fitted for lining up of the wings ( not the bonnet i'm using on
the final car)....
And here's the main man himself who's doing most of the bodywork on the
car for me ( apart from fitting the X-Pack arches, thats my job cos he
hates fibreglass panels
... cheers Dan .....
He's removed the sound deadening on the bulk head in the engine bay cos
A: It's horrid to paint and B: it'll look much nicer....
Sadly, the quality of pattern wings is somewhat....naff sometimes to
say the least
stuff
my finger between the wing and the door edge, and nope you can't
get Genuine Ford MK III wings new for love nor money these days....
The wing would fit great in one way,then too short in other areas, so
with a bit of jiggery pokery and cutting, Dan's sorted it ....
And now the pics that i've been waiting to put on here for a while....
Ta Da !!
Now for my fav Pic ....
Now don't that look much better with wings on
the update and many many thanks for all your words of encouragement,
cheers guys
Ello peeps,righto, time for an update..... Nice load of pics for you guys to oggle over....
Here's a few of the engine in the engine bay before it was taken back out. It was initially fitted so I could get all the hoses,parts and holes drilled before the engine bay was sprayed.....
Before the cam belt was fitted ( and what a bit of a nightmare that was ! )
Now with Rad and Intercooler fitted....
Here's the modified front hubs....
Nice new set of wheel bearings for them....
Ta Da ! Bearings fitted....
And now the modified Hubs on the car, sadly no caliper fitting yet, as I was supplied the wrong fitting kit....
Engine bay, Primed and ready for topcoat
And now, are you ready ....
Drum roll please....
.
.
.
.
.
.
.
Ta Da !!!!!..... The Pics don't do Dan's spray work justice....
Now's the daunting task of slowly and VERY carefully putting the bits in the engine bay as the paint,this time of the year is still soft and will take a while to go hard.
Hope you guys like the update, sorry it's been a while